To add clip art to a document:
- Set the insertion point at the place in your document where you want to insert the
image.
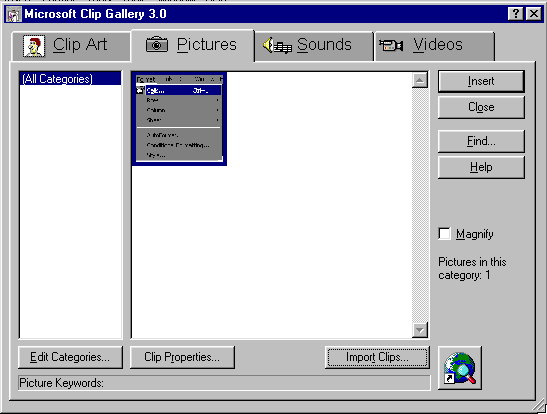
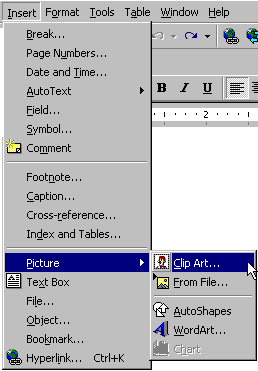
- Under Picture in the Insert menu, choose ClipArt.... This will
display the ClipArt Gallery dialog box:

- From the ClipArt tab of the dialog box, select or click the image you want to
insert.
- Click on Insert to add the selected image to your document.
Some notes about adding clip art to your documents:
- The number of images in the ClipArt portion of the dialog box can be
overwhelming. By clicking on a certain category in the list on the left-hand side, you can
limit the number and types of images diplayed on the right. Also note that each image has
a description displayed in the lower portion of the dialog box window.
- Once added to your document you may resize the image using the mouse cursor. Click
anywhere on the image to display an outline around the image with handles. If you position
the cursor over one of these handles, and press and hold the left mouse button down, you
can resize the image.
How do you add pictures from other files?
There are two ways you can insert pictures from other files:
In the ClipArt Gallery dialog box, click on the Pictures
tab.
 If you
don't see any files listed, click on Import Clip, and go the directory with the
pictures you want to insert. When you find the picture you want to insert, select it and
click on Open. This picture will now be listed in the Pictures tab, and you
can select it and click on Insert to insert it into your document. If you
don't see any files listed, click on Import Clip, and go the directory with the
pictures you want to insert. When you find the picture you want to insert, select it and
click on Open. This picture will now be listed in the Pictures tab, and you
can select it and click on Insert to insert it into your document.
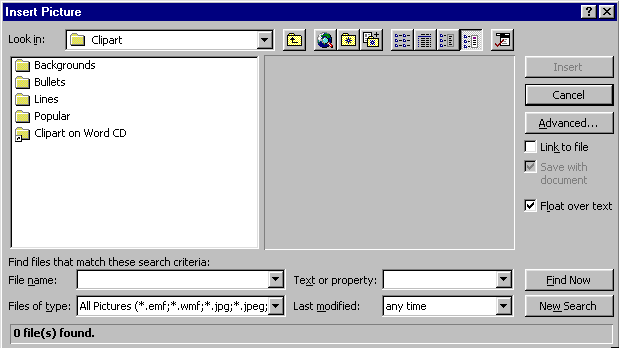
- Under Picture in the Insert menu, choose From File. You will then
either get a list of directories or files, or you will have to find the file you are
looking for. Once you find the file you want, you can select it and click on Insert
to insert into your document.

|
 Clip
art is a set of graphical images created
outside of the word processing program. Clip art can be inserted into a word processing
document, and, once inserted, clip art can be manipulated with familiar menu commands. For
example, you can Cut or Copy a piece of clip art to the clipboard and Paste
the image to a another location in your document.
 If you
don't see any files listed, click on Import Clip, and go the directory with the
pictures you want to insert. When you find the picture you want to insert, select it and
click on Open. This picture will now be listed in the Pictures tab, and you
can select it and click on Insert to insert it into your document.